Optimized Coating Thickness Measurement Solution
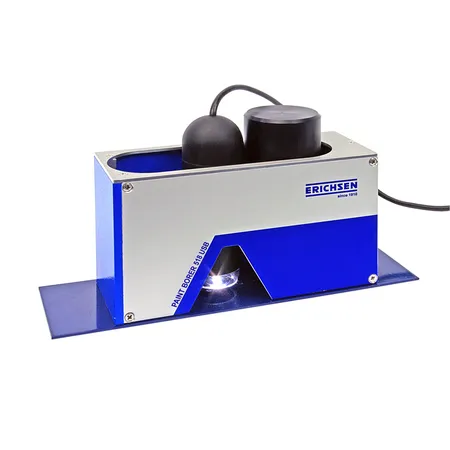
The PAINT BORER 518 USB by Erichsen sets a new standard in the precision measurement of coating thickness. Based on the wedge cut method, this instrument offers a distinct blend of mechanical and optical proficiency, providing insights with an accuracy up to 2000 μm. The integration of a high-resolution digital microscope, featuring 50x magnification powered by an 8x white LED light and a 2 million pixels CMOS image sensor, ensures unparalleled clarity in visual evaluation and documentation.
Advanced Design and Functionality
Erichsen’s PAINT BORER 518 USB is the epitome of innovative engineering. Outfitted in a compact, durable housing, it includes essential components like a drilling device, digital microscope, specimen illumination, and a battery for portable power. A notable feature is the device’s ability to perform accurate measurements without being moved after drilling, thanks to the clever integration of a slide mechanism for the drill and microscope. Enhanced lighting options and interchangeable carbide drills further testify to its versatility in various measurement ranges.
Efficient Operation and Documentation
The PAINT BORER 518 makes coating thickness measurement straightforward. After marking the test point with a felt tip pen, the instrument drills through the coating to the substrate. With the drill and microscope ingeniously aligned, immediate visual inspection is available. This process not only captures every layer in multi-layered specimens but also ensures clear documentation and communication between parties, reducing errors. Additionally, the available software simplifies data logging, making the PAINT BORER 518 USB an invaluable tool for quality control in manufacturing and laboratory environments.

