Paint Inspection Gauge P.I.G. 455

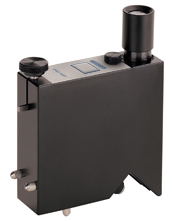
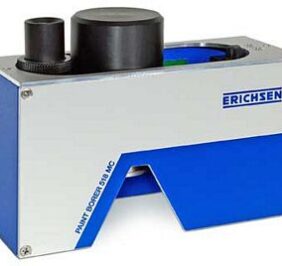
The P.I.G. 455 is a paint inspection gauge which is suitable for use wherever conventional electro-magnetic measuring techniques are ineffective, namely for coatings on wood, concrete, plastics and other non-metallic substrates.

PDF

Category:

Description

Paint Inspection Gauge P.I.G. 455

A Simple Method for Determining a layer thickness

Testing with the P.I.G. 455 is based on the standardized wedge cut procedure: The coating is cut through
at a defined angle in such a way that the cut penetrates the substrate. The layer thickness is calculated
on the basis of the slope projection of the cut face, determined using a measuring microscope, and the
cutting angle. Similarly, the individual layer thickness of multi-layer systems can be ascertained.


Standards:

  • EN ISO 2808
  • DIN 50986
  • ASTM D 4138


    Company name (obligatory)

    Your name (obligatory)

    Telephone number(obligatory)

    Your e-mail (obligatory)

    Your message

    GDPR Compliance


      Company name (obligatory)

      Your name (obligatory)

      Telephone number(obligatory)

      Your e-mail (obligatory)

      Your message

      GDPR Compliance